
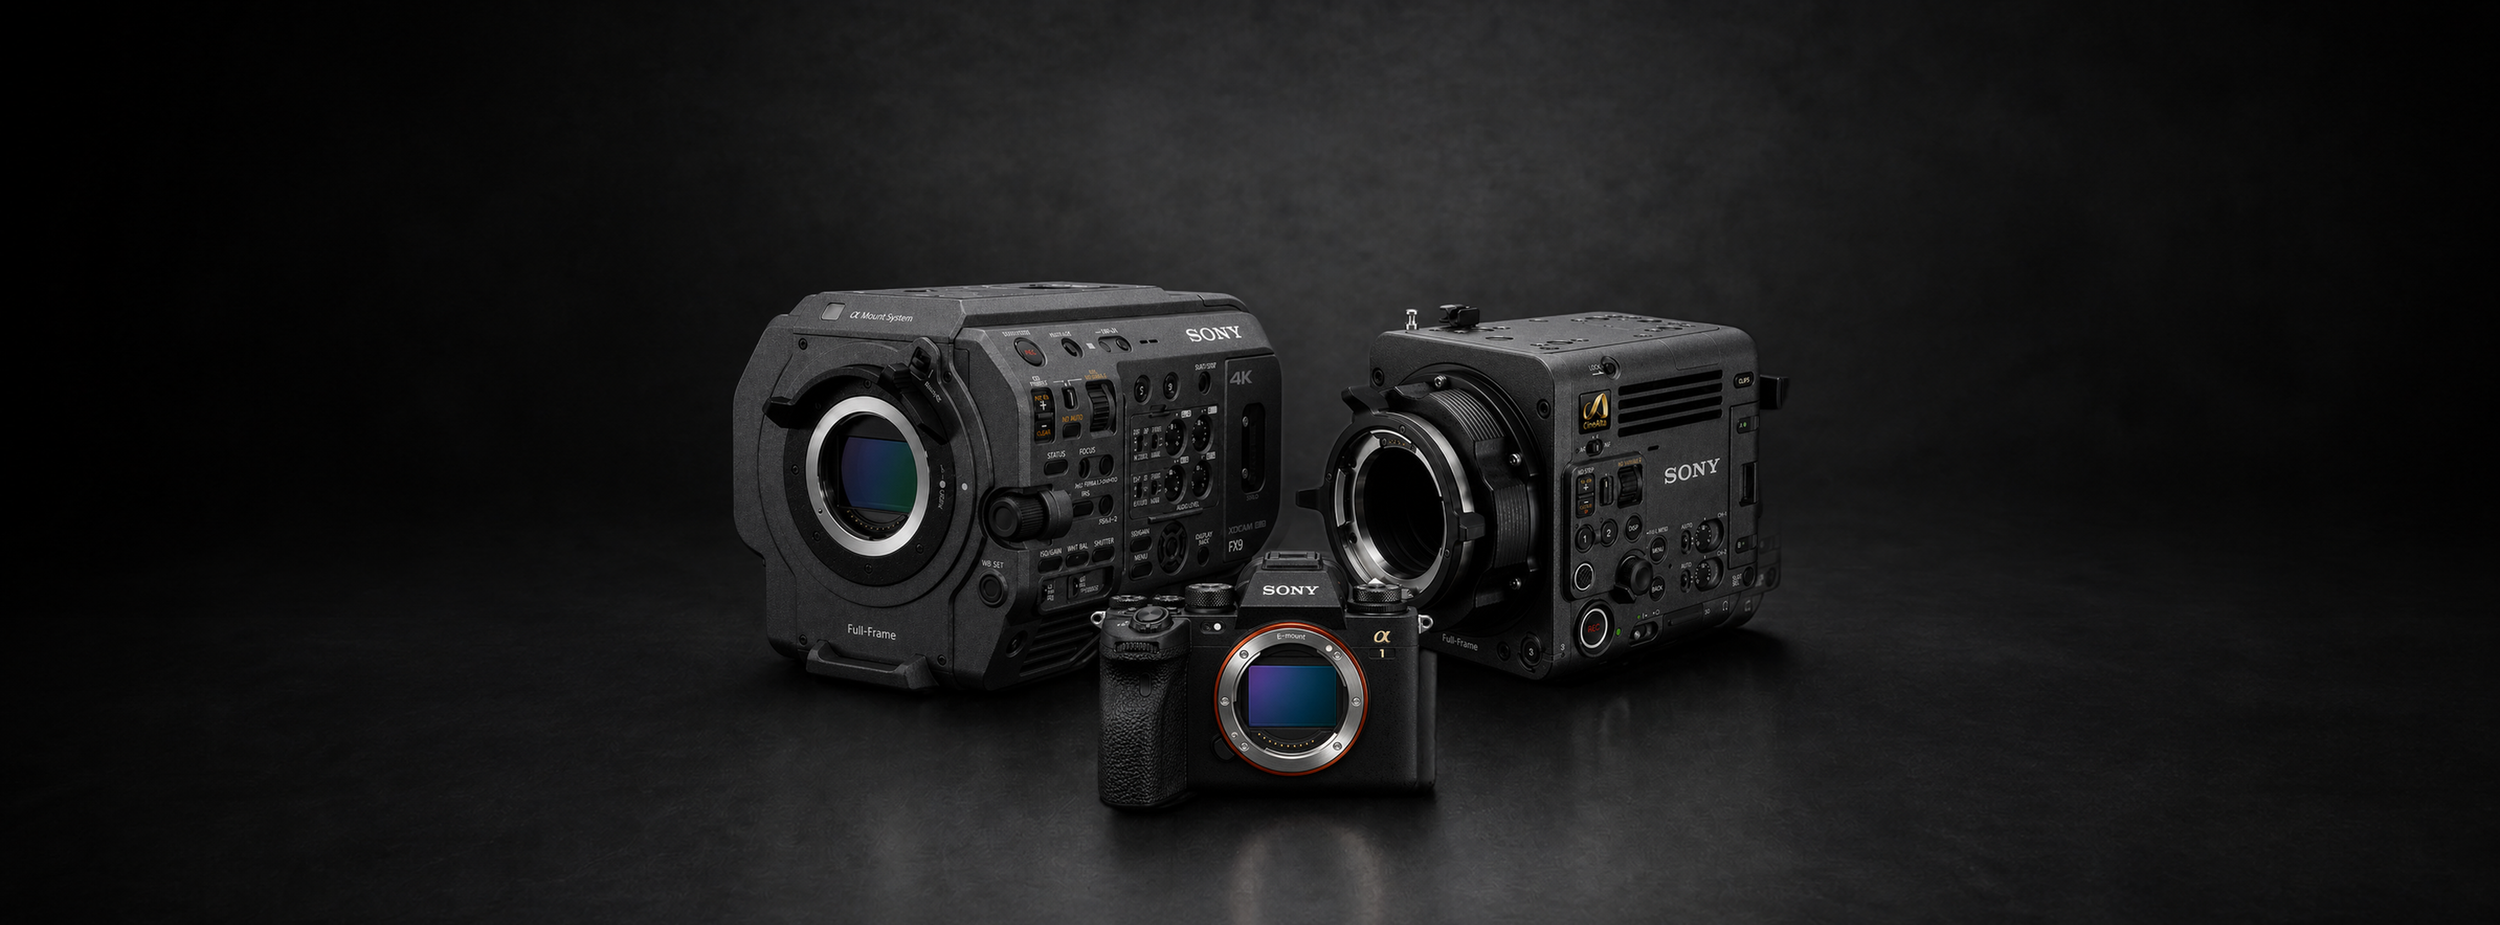


For SONY FX9, BURANO, A1 and A1 II users who need to colour match with an ARRI Alexa, want more creative choices for their post workflow or who are unsatisfied with the standard S-Log3 to Rec.709 technical LUTs on offer, I have developed a LUT that accurately emulates the ARRI Alexa 709 colour science for S-Log3 footage.
Sony BURANO/FX9 LUTs
‘ARRI Look’ 5 Pack
$49 USD
"FILM Look’ 6 Pack
$49 USD

All 11 In One Bundle
(Most Popular)
$79 USD
-
Designed for:
Sony FX9 & BURANO
Compatible Cameras:
Sony A1
Sony A1 II
Supported Picture Profiles:
S-Log3
-
The ARRI Look 5-Pack:
Neutral LUT
Tungsten LUT
Ice Blue LUT
Jamaica LUT
Utopia LUT
The FILM Look 6-Pack:
‘Vision’ - Kodak Vision 5274
‘Eastman’ - Kodak Eastman 5247
‘Eastman RM’ - Variation
‘Vision Teal’ - Kodak Vision 5274
‘Eterna’ - Fuji Eterna 8563
‘Bleach’ - Fujifilm Super F 8552
All 11 In One Bundle:
All LUTS from the Film and Arri look packs. -
65x High-Resolution editing LUTs
33x Monitoring LUTs (for use monitoring or in-camera)
Legacy Variations on each LUT (features Sony’s older gamma curve)
Wide Dynamic Range Pre-LUT
Detailed ReadMe PDF with recommended settings
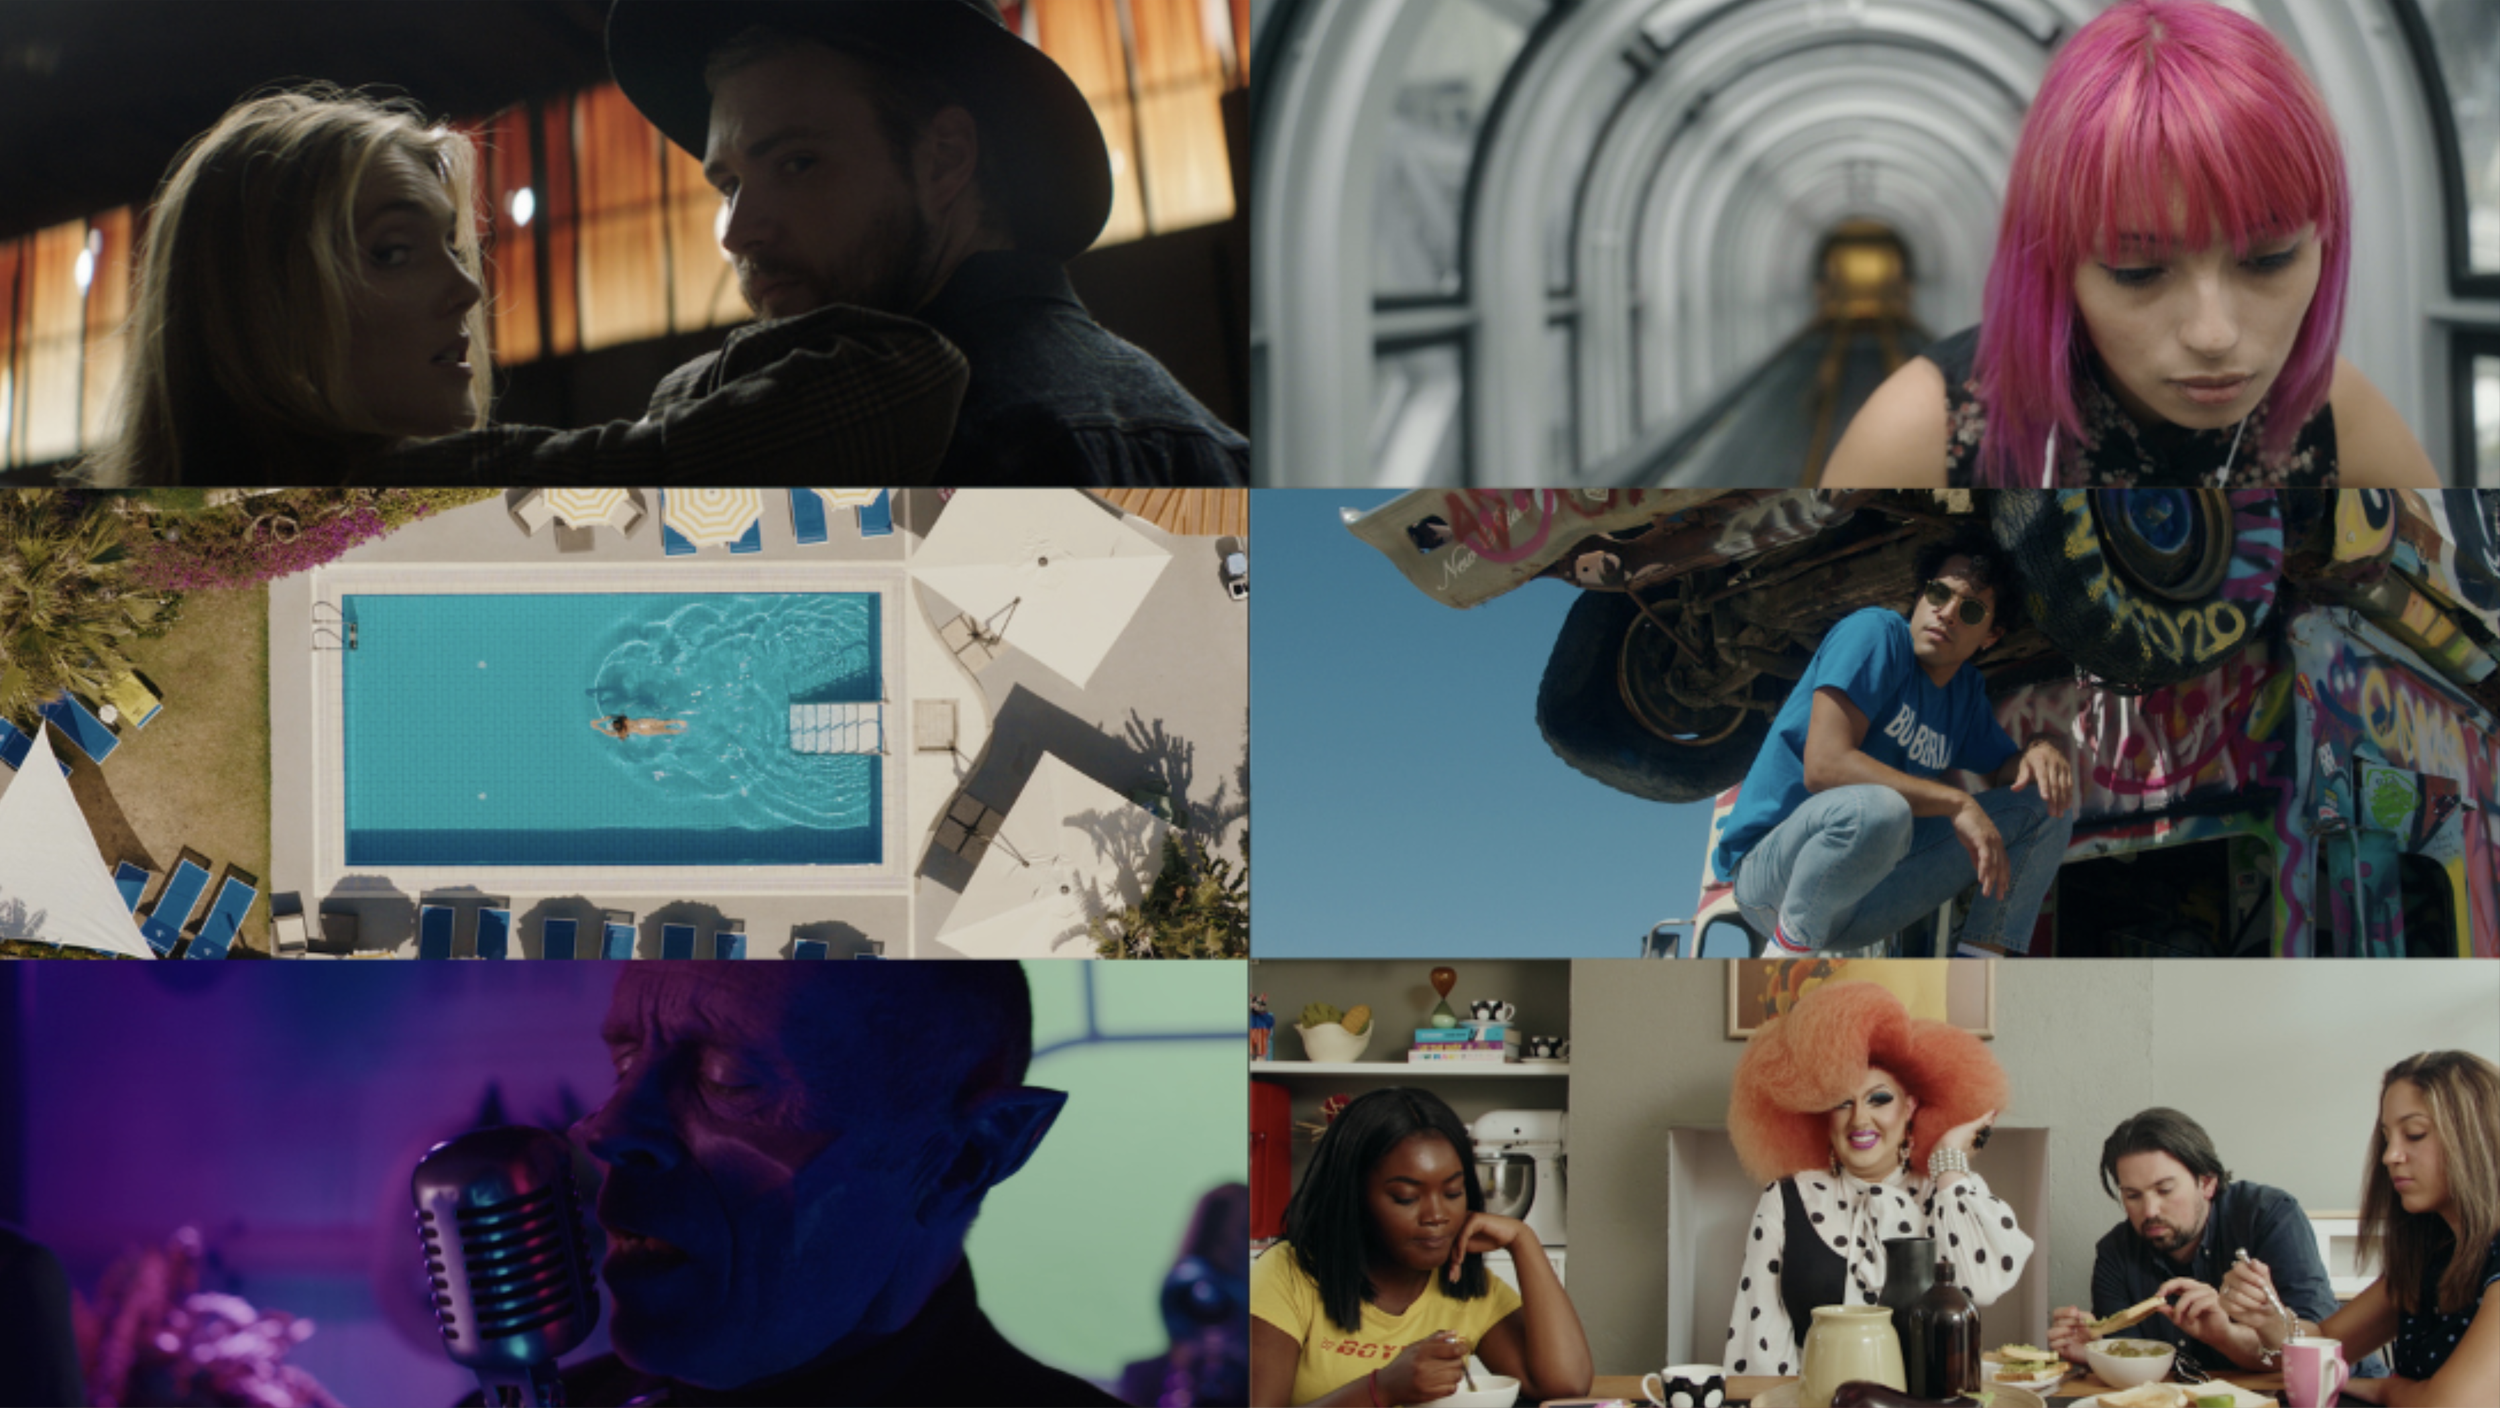
The “ARRI” Looks
The “Film” Looks
The FX9 and Burano have great features like Dual Native ISO, Impressive Dynamic Range, Full Frame Sensor and many more.
The problem I set out to address was with the colours - Sony has always strived for ‘accurate’ colours but this has often left Sony users wanting something a little more impressionistic or creative out of their conversion LUTs. In particular I found the rendering of skin tones looked quite unhealthy and stale.
To me, the gold standard for colour science is still to be found in the ARRI Digital Camera family, and so using my own ARRI Alexa Mini as a benchmark, I developed a LUT that accurately emulates the ARRI Alexa 709 colour science, which I’ve always found to look great straight out of camera; The result is my ‘Phantom Neutral LUT’.
Phantom LUTs are Rec.709 finishing LUTs designed to take your camera’s native Log footage into the Rec.709 colour space, delivering a finished look that emulates the Alexa709 LUT.
Using this ARRI Emulation as a base, I further developed 10 additional creative LUTs divided into two LUT Packages centred around two themes:

The ARRI 5-Pack
Along with the emulation LUT, there are 4 creative variation LUTs
that come with it packaged as the ARRI LUT 5 Pack.
The 5 ARRI LUTs Described Below:
-
Rebuild of the Alexa Classic 709 LUT (as found on the official ARRI Website 'LUT Generator' App) engineered for the Blackmagic Ursa Mini Sensor response and color science
High quality recreation of the legacy ARRI Alexa colour science found in the first generation of Alexa cameras using the ALEV III sensor.
-
A slightly warmer golden cast designed to be utilised for subjects bathed in tungsten light.
-
Blue, colder cast with punchy, deep blues (looks amazing on subjects with blue eyes).
-
Green and gold cast - distinctive, rich, filmic greens and beautiful golden skintones.
-
The most filmic look of the LUTs
Blood red reds and filmic blues and greens.
It’s my personal take on what Utopia would look like.
The FILM 6-Pack
For the nostalgic among you,
I have developed 6 Film Emulation LUTs that each emulate film stocks from the past.
The 6 FILM LUTs Described Below:
-
‘Vision’ - Modelled on Kodak Vision 5274
Shot on: The Matrix, Lord of the Rings Trilogy, Gladiator
The most colour accurate stock with accurate blues, slightly cool greens, accurate skin tones which slightly skew pink/gold
Strong contrast and filmic subtractive colour model in saturation
Gentle roll off and rich, smooth fall off in shadows
Skews green in shadow areas and when underexposed
Classic film character but less stylised than any other stock
-
‘Eastman’ - Modelled on Kodak Eastman 5247
Shot on: Apocalypse Now, Bladerunner, Alien, ET
Vintage, dated Kodak look and feel.
Saturation strongest in mids and falls off in shadows and highlights.
Greens skew warm, blues slightly turquoise, gold/pink skin-tones.
Smoother contrast than modern stocks.
-
‘Eastman RM’ - Variation on Kodak Eastman 5247
Classic Eastman Look but modernised (Orange & Teal)
Greener in cast than the more magenta original Eastman 5247
Modelled on the Re-Graded versions of classic films from 70s & 80s
-
‘Vision Teal’ - Variation on Kodak Vision 5274
Subtle Orange/Teal colour scheme.
More stylised version of ‘Vision’. Less realistic - ‘prettier’.
Greens are slightly warmer, blues slightly turquoise and skin more golden.
Overall lift in saturation and contrast compared to ‘Vision’ but still balanced.
Can elevate a dull scene with its look but not overpower a rich scene.
-
‘Eterna’ - Modelled on Fuji Eterna 8563
Shot on: Captain Phillips, Wall Street: Money Never Sleeps, The Butler
Overall smoother contrast and rolloff compared to Kodak.
Rich but not overpowering colours and saturation characteristics.
My go-to for Fashion and Beauty but can work with almost anything.
Very flattering skin-tones.
Greens are cool and rich, skin is golden, blues skew turquoise and modern, colour accurate yellows compared to Kodak.
-
‘Bleach’ - Modelled on Fujifilm Super F 8552
Shot on: Munich, War of The Worlds, Crash
Modelling the Bleach Bypass process for strong contrast and low saturation.
Aggressive, gritty look - halfway between black and white and colour film.
Great for War Films, Crime, Urban Fashion.
Works especially well with heavy film grain.
The ‘Film Look’ LUT Pack contains 6 LUTs inspired by real film stocks designed to give your F-Log2 & F-Log2c Footage the Film Look. The emulations are based on my own research and subjective impressions of the film stocks listed.
Color Grading with Phantom LUTs
What Exactly Are LUTs?
A LUT (Look-Up Table) is a file containing a predefined set of mathematical instructions to transform colors in an image or video. In filmmaking, LUTs are essential for converting flat, low-contrast log footage into a rich, cinematic image. They are the fastest and most consistent way to achieve a professional color grade, but their quality is determined by the precision of their creation.

-
While most LUTs are simple color presets, Phantom LUTs are professional-grade conversion tools built on a foundation of scientific accuracy. We are trusted by filmmakers worldwide because our process is unmatched:
Calibrated Against the ARRI Alexa Gold Standard: We don’t guess; we calibrate. Every Phantom LUT is meticulously developed over months by shooting charts and scenes side-by-side with our in-house ARRI Alexa camera. We profile each camera system (Sony, Canon, etc.) to perfectly emulate the Alexa’s legendary color science, organic skin tones, and cinematic highlight roll-off. This process ensures a true, high-end filmic look, not just a filter.
Perfectly Balanced, Natural Skin Tones: As a direct result of our Alexa-based calibration, our primary focus is on producing natural and pleasing skin tones that hold up across various lighting conditions, a common failure point for generic LUTs.
Cinematic Tonality & Color: Achieve the smooth highlight roll-off, clean shadows, and rich color separation that define high-end cinema—because our LUTs are born from it.
Time-Saving Workflow Efficiency: Drastically speed up your post-production by applying a technically perfect and aesthetically beautiful base grade instantly. Your footage will look better, faster.
-
We develop conversion and creative LUTs for the cameras and log formats used by today's leading filmmakers. This ensures a unified look on multi-camera shoots and a seamless editing experience.
Sony LUTs: Expertly crafted for S-Log2, S-Log3.
Canon LUTs: Precision-built for C-Log2, and C-Log3.
Panasonic LUTs: Perfectly tuned for V-Log to achieve that signature look.
RED LUTs: Fully compatible with the IPP2 workflow and REDWideGamutRGB/Log3G10.
Blackmagic LUTs: Designed for Gen 4 & Gen 5 Film color science.
ARRI LUTs: The industry standard for converting Log C footage from Alexa cameras.
Apple iPhone LUTs: Unlock the full cinematic potential of Apple Log & Apple Log 2 on the iPhone 15/16/17 Pro.
DJI LUTs: Get the best results from your drone footage with our D-Log & D-Log M LUTs.
Fujifilm LUTs: Optimized for both F-Log2andF-Log2c to enhance Fuji's renowned color science.
Whether you're color grading a feature film, documentary, music video, or YouTube content, Phantom LUTs provide the reliable, high-quality foundation your project deserves.

Frequently Asked Questions
-
Phantom LUTs are compatible with all editing software that supports the use of .cube LUT files. This includes software on Mac, PC and Tablet/Mobile apps.
Compatible Editors Include:
Davinci Resolve Studio (All Versions)
Adobe Premiere Pro (All versions)
Final Cut Pro (All Versions)
CapCut
LumaFusion
Capture One
Kinemaster
Avid Media Composer
Sony Vegas
If your software can load a .cube file, then it is compatible! If you are still unsure, send us an email at hello@joelfamularo.com
-
Once you have selected your supported camera and made your purchase, you will immediately receive an email with a download link to your new LUTs.
This link will remain active for you to download your LUTs at any time.
Please ensure you have double checked your email address is correct before making your purchase.
-
Since Phantom LUTs first launched in 2018, Joel has been continuously refining each LUT based on his own personal daily shooting, and also based on feedback from the many users in our wide community of filmmakers.
We know that the latest camera isn’t always the “best” camera, and so providing support for our existing range of LUTs is a big part of providing you with the best product we can, long after purchase.
Based on this feedback, updates are sent out via email to everyone who’s purchased a LUT pack, so you’ll always be in the loop!
-
TLDR: 65x LUTs are high-resolution LUTs used for editing in post-production thanks to their high accuracy, while 33x LUTs are used in-camera and for external monitoring due to their compute efficiency and smaller resolution.
65x LUTs are high-quality LUTs that provide a more accurate and precise colour transformation than a standard LUT. They achieve this higher level of colour accuracy by offering more colour values per channel than a standard LUT. Due to their high resolution, 65x LUTs are typically used for colour grading in the NLE of your choice and are, as such, our recommended LUTs for editing (with NLE interpolation set to Tetrahedral).
33x LUTs are still perfectly suitable for editing, though they contain less colour information than their 65x counterparts. Due to their smaller size, 33x LUTs are more efficient and are intended for monitoring, as they often meet the size and computational restrictions for viewing LUTs in-camera or on a monitor. 33x LUTs may be used in certain circumstances (such as live streaming or online media), but due to their simpler construction, they can sometimes lead to image artefacts and are generally not recommended to be baked into footage unless in these specific circumstances.
-
Our recommended NLE (Non-Linear Editing) software for editing your footage is DaVinci Resolve due to its advanced Colour Management capabilities. Whatever your editing software may be, ensure your Colour Space is set to Rec.709, as this is what your LUT will be expecting.
DaVinci Resolve Colour Management Settings
Navigate to Project settings > Color Management, and input the following settings:
Ensure your Color Science is set to: DaVinci YRGB
Set your Timeline Color Space to Rec.709-A for Mac users, Rec.709 Gamma 2.4 for Windows users
Leave Output Color Space set to Same as Timeline
Lastly, ensure 3D lookup table Interpolation is set to Tetrahedral
Adobe Premiere Pro Colour Management Settings
Navigate to Project Settings > General, and set the following settings:
Under the Color Management section, set 3D LUT Interpolation to Tetrahedral
Navigate to Sequence > Sequence Settings, and select the following settings:
In the Video section, ensure that Working Color Space is set to Rec. 709
Ensure Premiere does not Automatically Detect Log Video Color Space:
Navigate to Preferences (or Settings) > General…
Then untick Auto Detect Log Video Color Space
Lastly, ensure that Premiere has not automatically transformed each clip by double checking that Colour Space Override is set to Rec. 709:
Right click the clip and select Modify Clip
Under Interpret Footage set Color Space Override to Rec. 709
Final Cut Pro Colour Management Settings
Navigate to File > Library Properties, and click Modify
In Change the color processing setting for the library ensure Standard Gamut SDR is selected
Once your LUT has been added, ensure that both input and output are set to Rec.709:
In the Custom LUT toolbar, set Input and Output to Rec.709
Ensure that Automatic Color Conform is turned off:
Navigate to Settings…
In General next to HDR: untick Automatic Color Conform
-
Yes, they do!
These LUTs will expect Log footage in the particular Log format associated with your camera and LUT pack. So when loading RAW Video into your NLE (Non-Linear Editor) ensure that you set the output to Log and also set the correct Colour Space (eg. S-Gamut3.Cine/Canon Cinema Gamut etc.)