


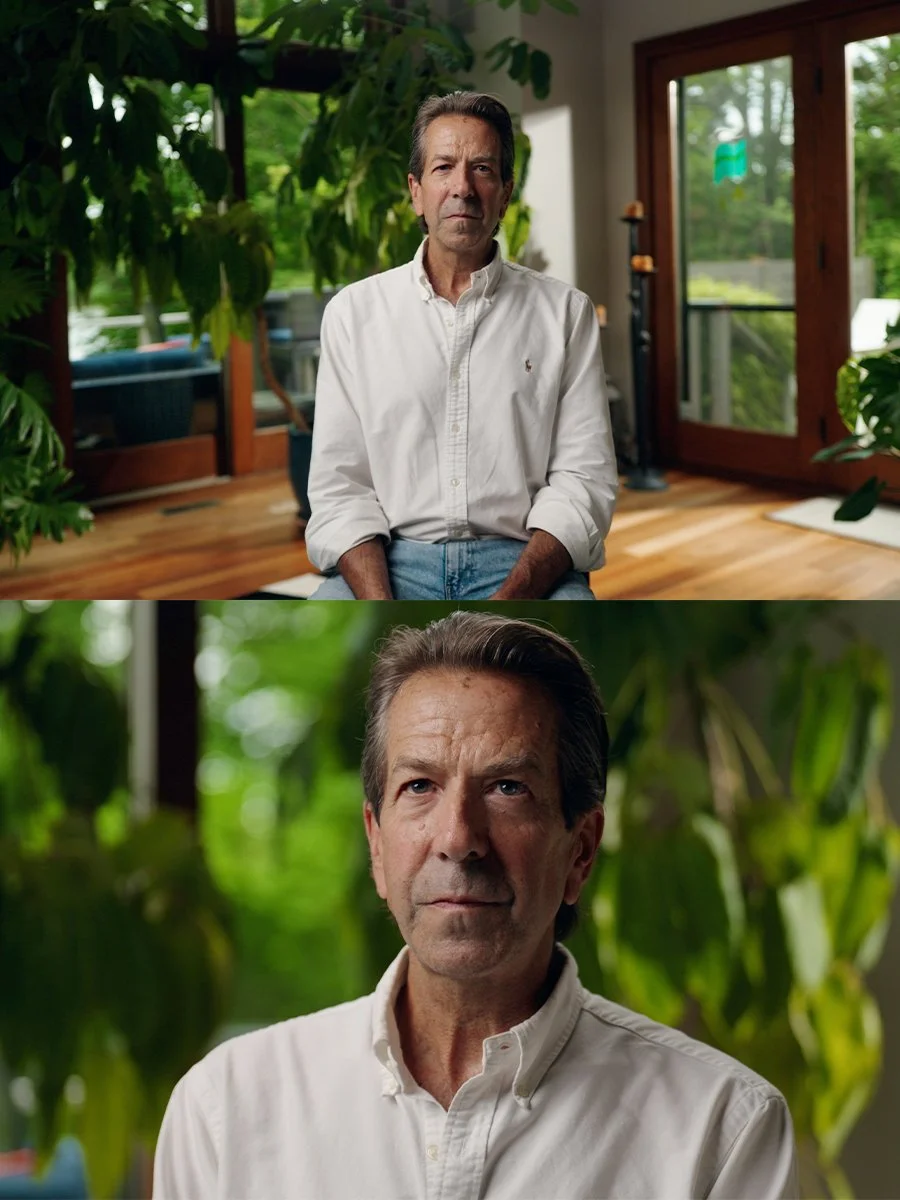
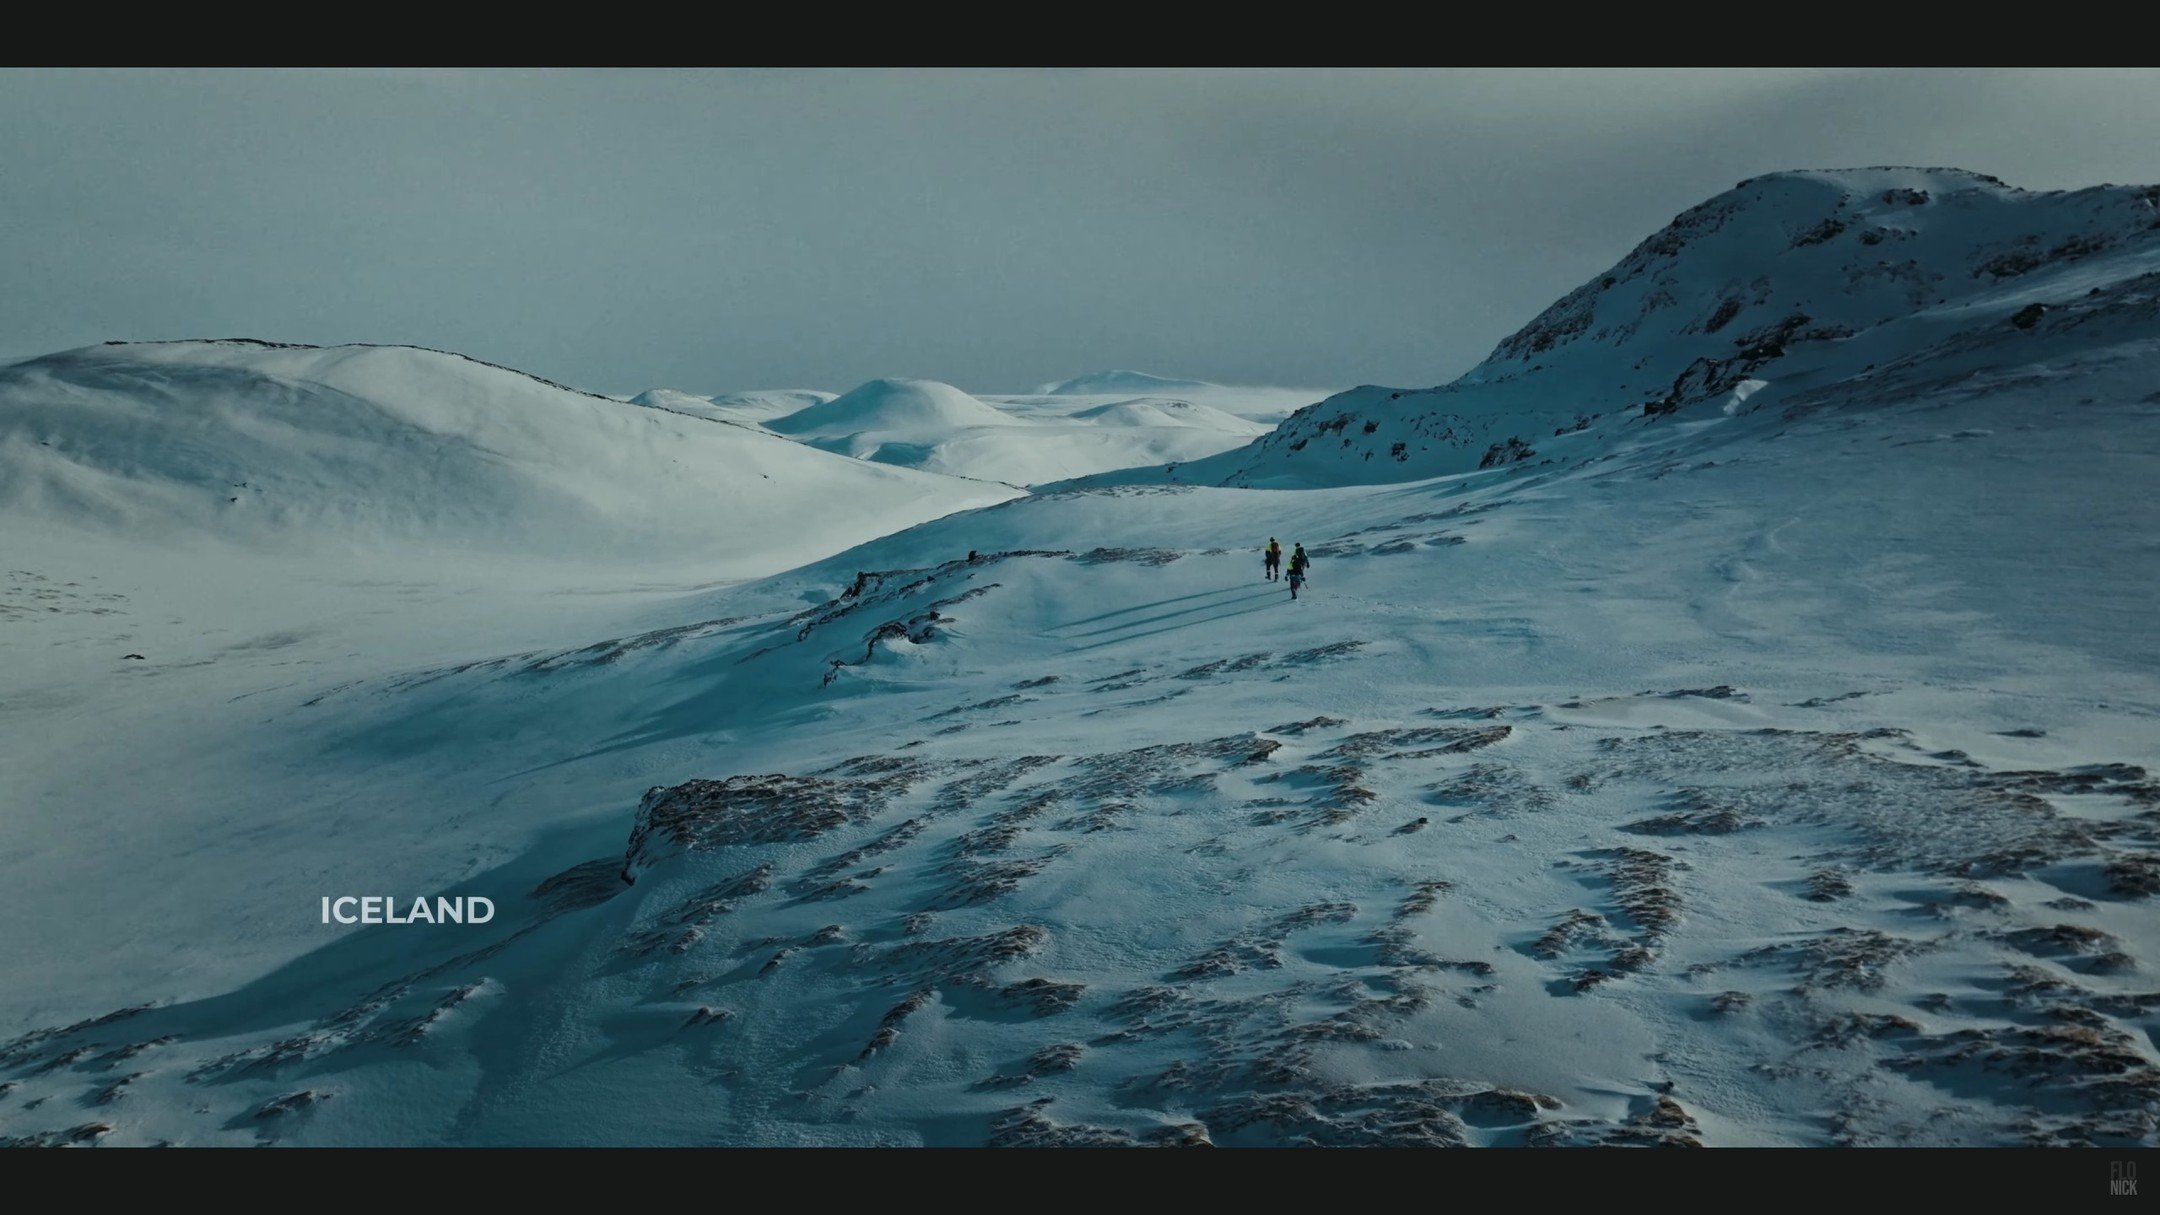
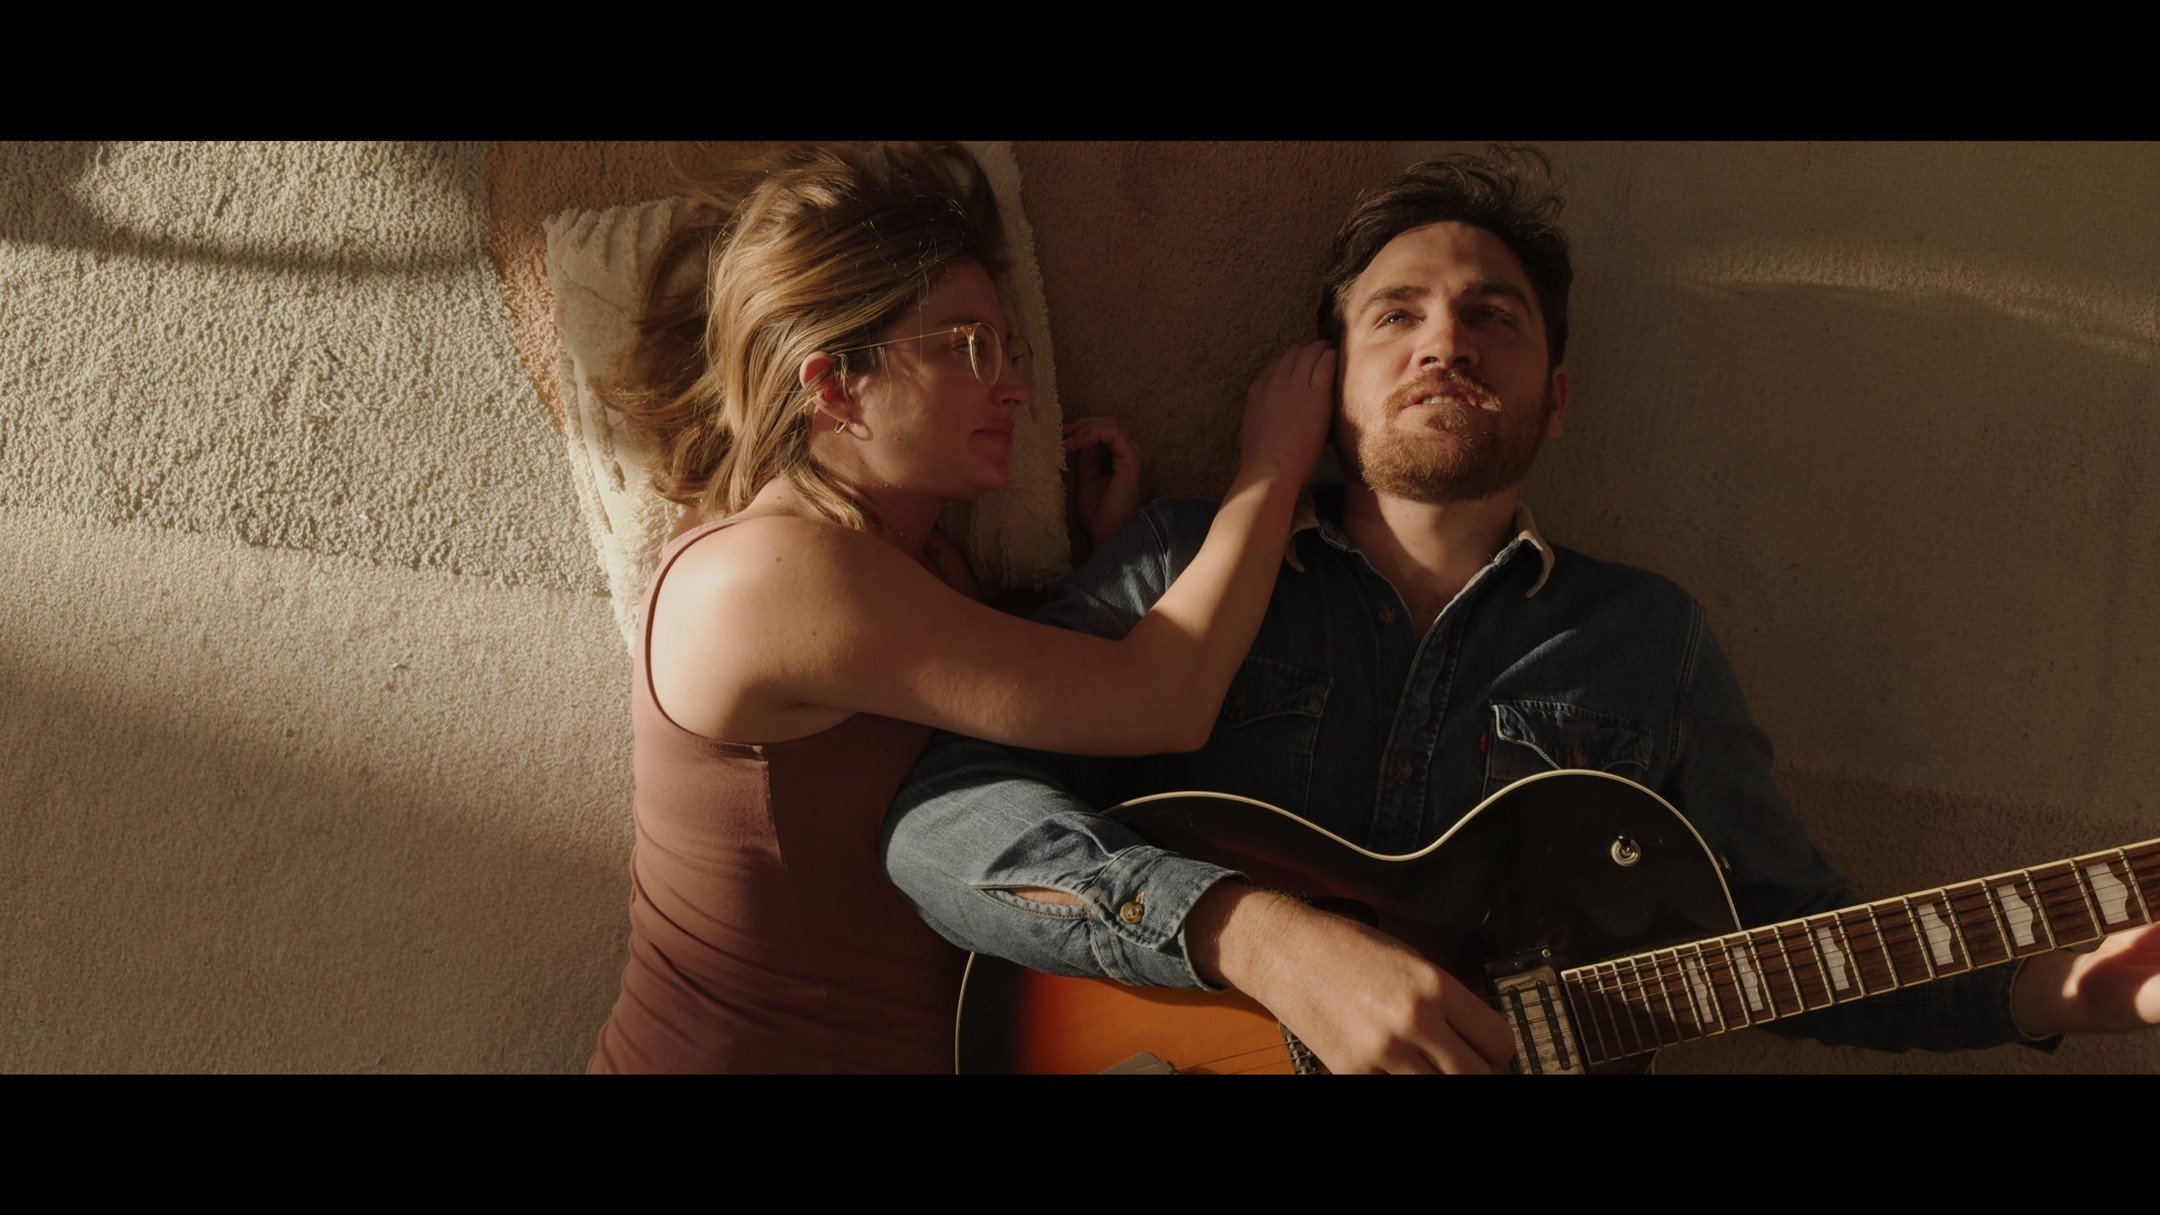
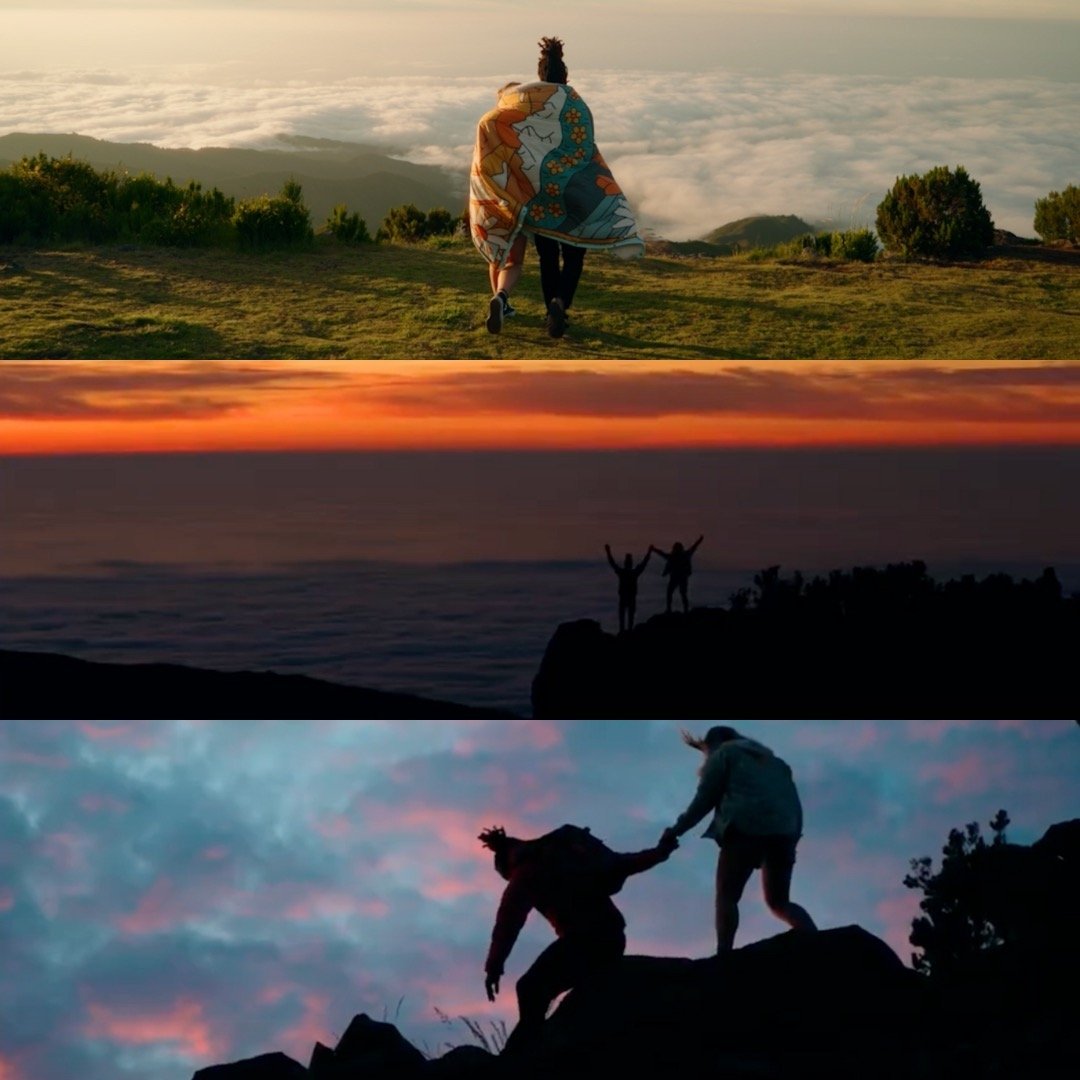
Explore sample frames from filmakers who color grade using Phantom LUTs


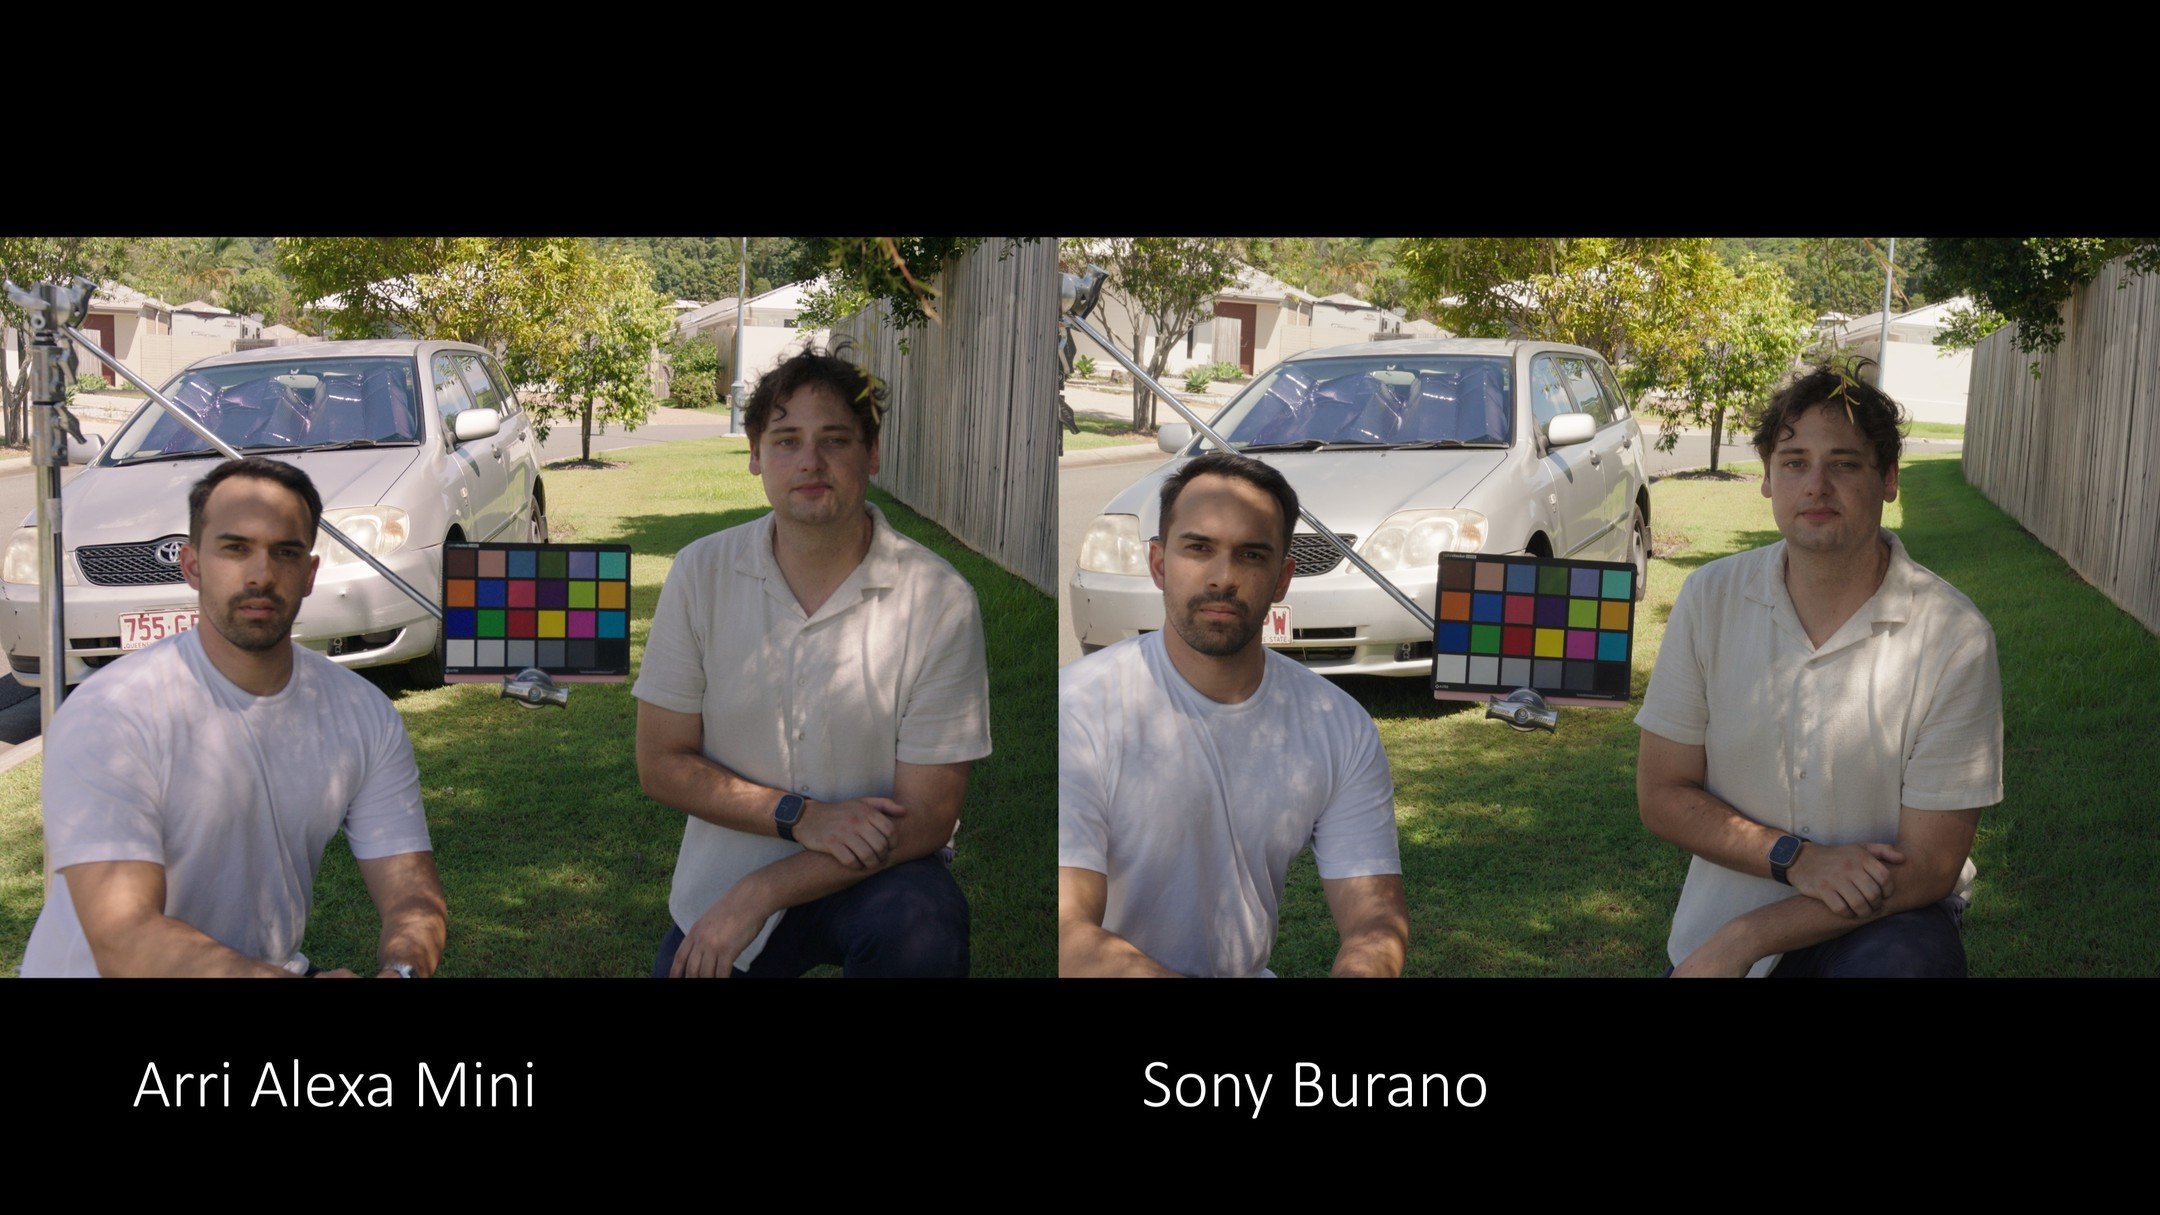


“To me, the gold standard for colour science is still to be found in the ARRI Digital Camera family. So using my own ARRI Alexa as a benchmark, I developed a LUT that reverse engineers the colour science of the Alexa709 LUT, which I’ve always found to look filmic and natural straight out of camera. The result is my ‘Phantom Neutral LUT.”
- Joel Famularo (Creator of Phantom LUTs)
Unlock the Full Potential of Your Cameras Color Science
Frequently Asked Questions
-
Phantom LUTs are compatible with all editing software that supports the use of .cube LUT files. This includes software on Mac, PC and Tablet/Mobile apps.
Compatible Editors Include:
Davinci Resolve Studio (All Versions)
Adobe Premiere Pro (All versions)
Final Cut Pro (All Versions)
CapCut
LumaFusion
Capture One
Kinemaster
Avid Media Composer
Sony Vegas
If your software can load a .cube file, then it is compatible! If you are still unsure, send us an email at hello@joelfamularo.com
-
Once you have selected your supported camera and made your purchase, you will immediately receive an email with a download link to your new LUTs.
This link will remain active for you to download your LUTs at any time.
Please ensure you have double checked your email address is correct before making your purchase.
-
Since Phantom LUTs first launched in 2018, Joel has been continuously refining each LUT based on his own personal daily shooting, and also based on feedback from the many users in our wide community of filmmakers.
We know that the latest camera isn’t always the “best” camera, and so providing support for our existing range of LUTs is a big part of providing you with the best product we can, long after purchase.
Based on this feedback, updates are sent out via email to everyone who’s purchased a LUT pack, so you’ll always be in the loop!
-
TLDR: 65x LUTs are high-resolution LUTs used for editing in post-production thanks to their high accuracy, while 33x LUTs are used in-camera and for external monitoring due to their compute efficiency and smaller resolution.
65x LUTs are high-quality LUTs that provide a more accurate and precise colour transformation than a standard LUT. They achieve this higher level of colour accuracy by offering more colour values per channel than a standard LUT. Due to their high resolution, 65x LUTs are typically used for colour grading in the NLE of your choice and are, as such, our recommended LUTs for editing (with NLE interpolation set to Tetrahedral).
33x LUTs are still perfectly suitable for editing, though they contain less colour information than their 65x counterparts. Due to their smaller size, 33x LUTs are more efficient and are intended for monitoring, as they often meet the size and computational restrictions for viewing LUTs in-camera or on a monitor. 33x LUTs may be used in certain circumstances (such as live streaming or online media), but due to their simpler construction, they can sometimes lead to image artefacts and are generally not recommended to be baked into footage unless in these specific circumstances.
-
Our recommended NLE (Non-Linear Editing) software for editing your footage is DaVinci Resolve due to its advanced Colour Management capabilities. Whatever your editing software may be, ensure your Colour Space is set to Rec.709, as this is what your LUT will be expecting.
DaVinci Resolve Colour Management Settings
Navigate to Project settings > Color Management, and input the following settings:
Ensure your Color Science is set to: DaVinci YRGB
Set your Timeline Color Space to Rec.709-A for Mac users, Rec.709 Gamma 2.4 for Windows users
Leave Output Color Space set to Same as Timeline
Lastly, ensure 3D lookup table Interpolation is set to Tetrahedral
Adobe Premiere Pro Colour Management Settings
Navigate to Project Settings > General, and set the following settings:
Under the Color Management section, set 3D LUT Interpolation to Tetrahedral
Navigate to Sequence > Sequence Settings, and select the following settings:
In the Video section, ensure that Working Color Space is set to Rec. 709
Ensure Premiere does not Automatically Detect Log Video Color Space:
Navigate to Preferences (or Settings) > General…
Then untick Auto Detect Log Video Color Space
Lastly, ensure that Premiere has not automatically transformed each clip by double checking that Colour Space Override is set to Rec. 709:
Right click the clip and select Modify Clip
Under Interpret Footage set Color Space Override to Rec. 709
Final Cut Pro Colour Management Settings
Navigate to File > Library Properties, and click Modify
In Change the color processing setting for the library ensure Standard Gamut SDR is selected
Once your LUT has been added, ensure that both input and output are set to Rec.709:
In the Custom LUT toolbar, set Input and Output to Rec.709
Ensure that Automatic Color Conform is turned off:
Navigate to Settings…
In General next to HDR: untick Automatic Color Conform
-
Yes, they do!
These LUTs will expect Log footage in the particular Log format associated with your camera and LUT pack. So when loading RAW Video into your NLE (Non-Linear Editor) ensure that you set the output to Log and also set the correct Colour Space (eg. S-Gamut3.Cine/Canon Cinema Gamut etc.)
